Follow These Steps To Install A Solidigm SSD In Your PS5 (CFI-1000 Model Group)
Overview
This article walks users through the process of installing a Solidigm Solid State Drive in the CFI-1000 model group of Sony PlayStation 5s.
Adding an M.2 SSD to your PS5 can increase the storage capacity and enable the transfer of games between the console's internal storage, the SSD itself and connected USB extended storage.
Both the P41 Plus and P44 Pro are compatible with the PS5.
Steps
| NOTE |
|
1) Unplug the console from its power source.
2) Lay the console horizontally on a flat surface. (The PlayStation logo should be facing down, and power button should be on the side closest to you.)

3) Gently pry the cover off the console. Apply pressure to the top left corner while pulling up and to the right to unlock the plastic case from its housing. Remove and set aside.
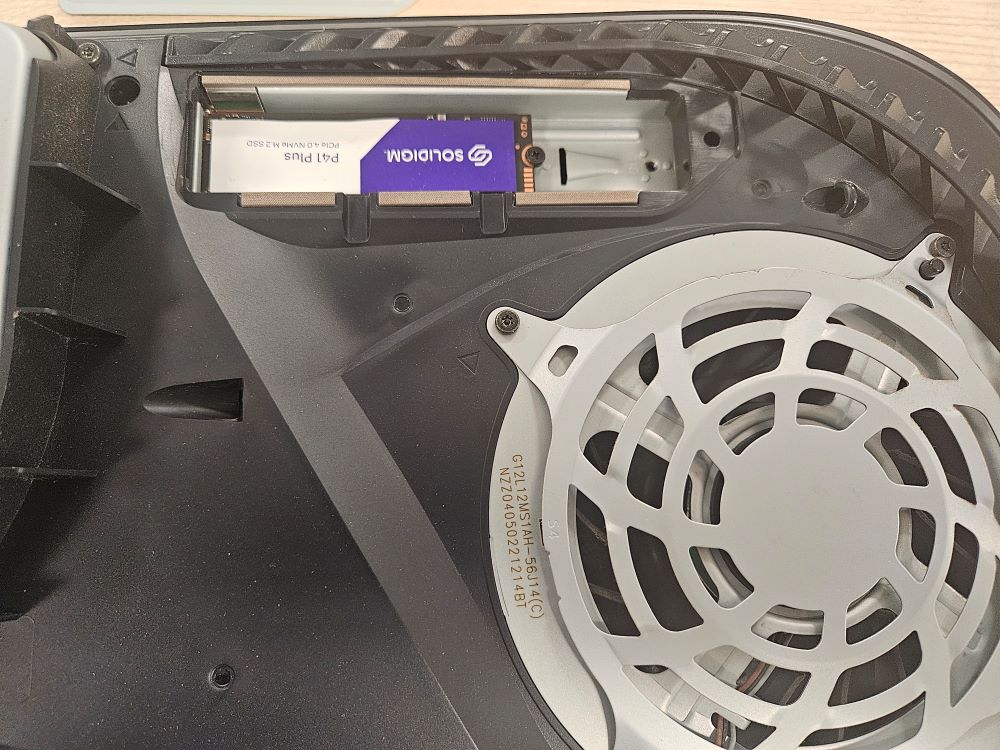
4) Unscrew the port that covers the housing for the SSD. You will need a number 1 Phillips head screwdriver. The housing for the SSD is located in a compartment above the console's fan.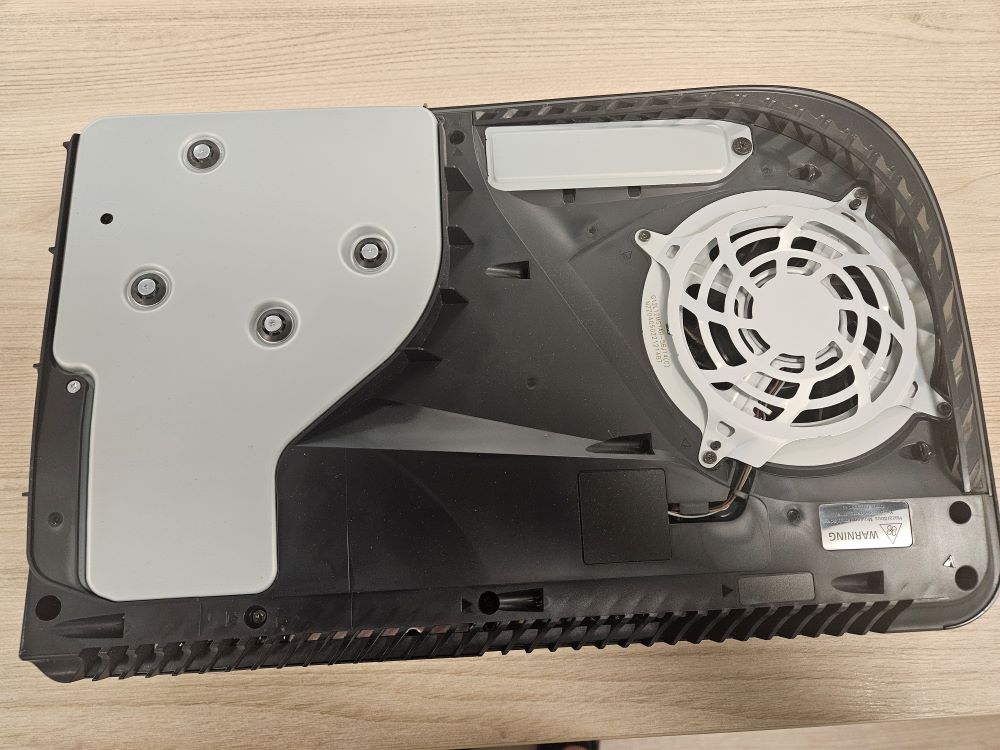 5) Install the SSD. First, insert it at an angle, then slowly press it down and secure it with the offset ring.
6) Put the cover back on the SSD port and screw it down. 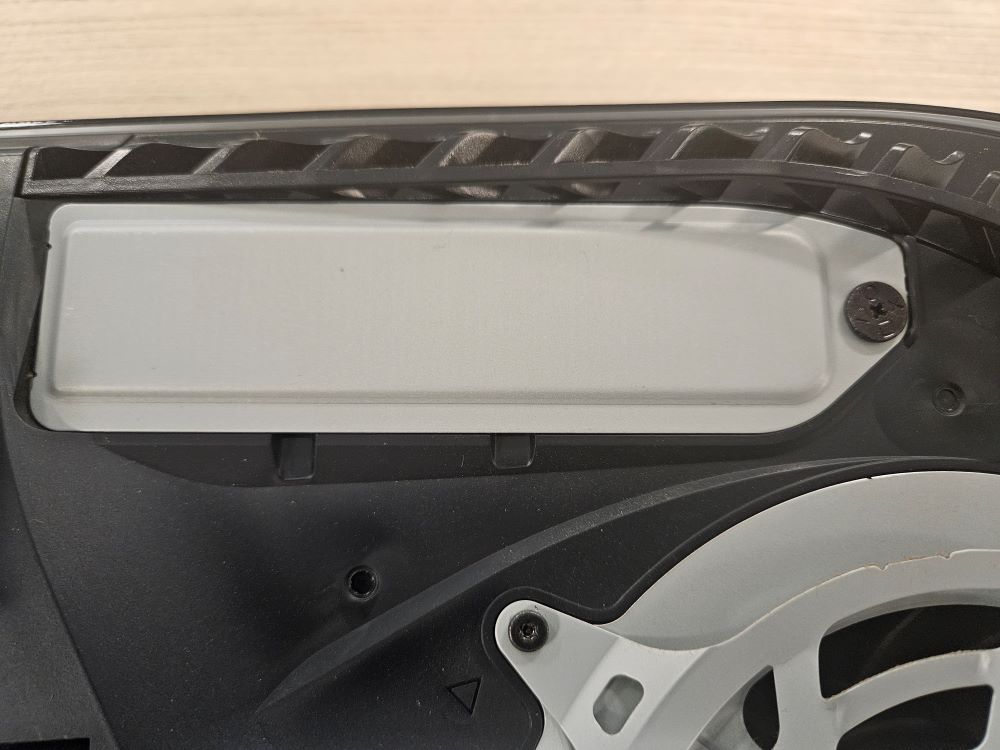
7) Place the cover back on the console. Line up the plastic clamps that secure the cover and press down until it clicks.
Additional details and information can be found on Sony's website.
Questions? Check out our Community Forum for help.
Issues? Contact Solidigm™ Customer Support:
[Chinese] [English] [German] [Japanese] [Korean]
Success